INTRODUCTION
Second Adams takes pride in offering an all-encompassing 3D NDT (Non-Destructive Testing) solution that seamlessly blends the power of an advanced 3D scanner with a cutting-edge software application. These meticulously designed tools cater to a wide spectrum of industries and inspection needs, ushering in a host of distinct advantages:
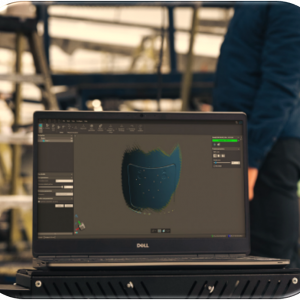
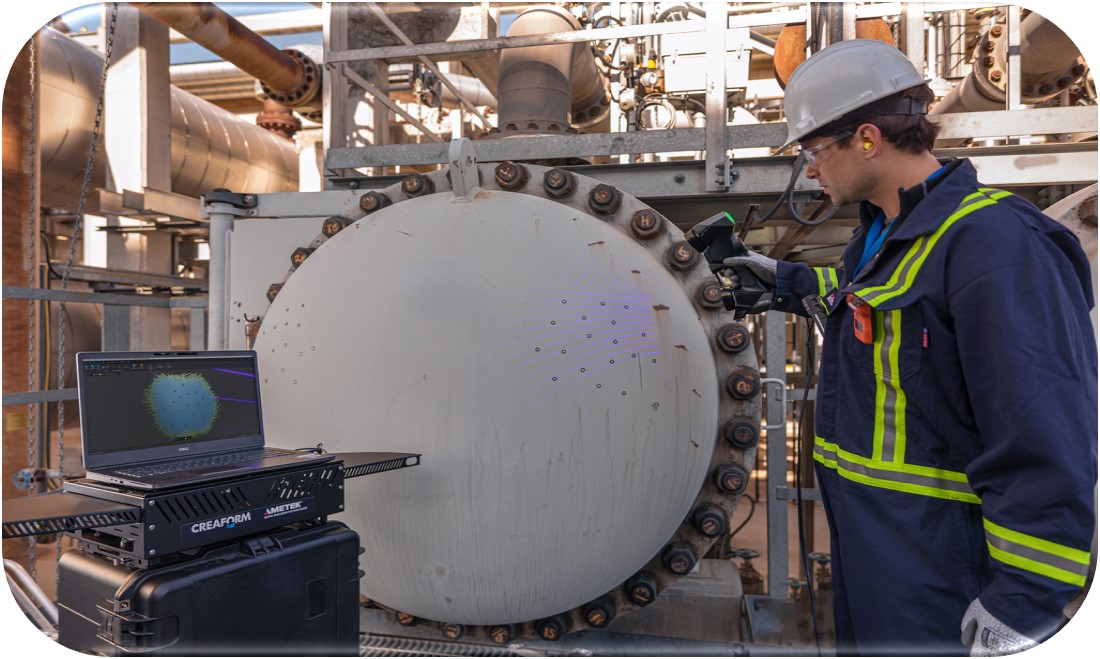
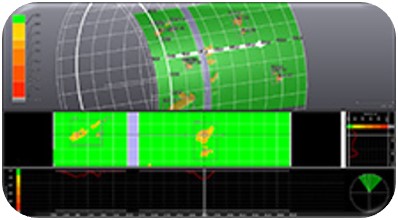
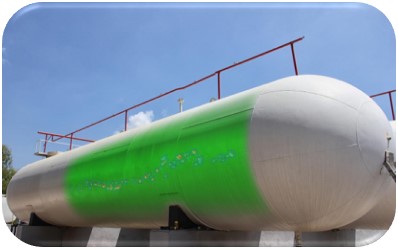
1. 3D NDT Visualization: With a commitment to state-of-the-art technology, our solution guarantees unparalleled precision in the assessment of surface corrosion and damage. We provide a crystal-clear, three-dimensional representation of the inspected area, leaving no room for inaccuracies.
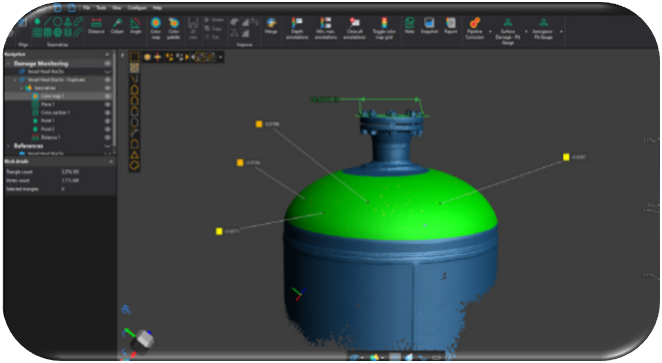
2. Cutting-Edge Software Tools: The data captured by our cutting-edge scanner is subjected to thorough analysis by our advanced software. This process enhances visualization and predictive maintenance capabilities, ensuring that potential issues are not only identified but also understood in depth.
3. Customized NDT Solutions: At Second Adams, we don’t believe in one-size-fits-all solutions. We work closely with our clients to tailor NDT solutions that are uniquely suited to address their specific challenges. Your needs drive our innovation.
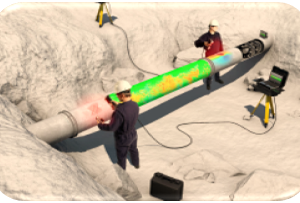
4. Alternative to Pipeline Pigging: Our 3D NDT solution provides a compelling alternative to traditional intelligent pigging. It makes it possible to assess the integrity of pipelines that were once considered unpiggable. This innovation opens up new possibilities for pipeline inspection and maintenance, ensuring the safety and efficiency of critical infrastructure.

FEATURES
- Data analysis and report generation directly onsite, allowing for rapid decision-making
- Peace of mind through accurate, repeatable, and traceable results
- Reduced latency, as pipes are reburied more quickly
- Ability to conserve data over time, making it possible to compare damage evolution
- Prevention of environmental catastrophe
- Highest accuracy on digital reconstruction
- Technician-independent measurements free from human error at the acquisition stage
- Versatile measurement method for all geometry types, such as spheres, cylindrical heads, tank floors, etc.
- Polyvalent surface damage assessment approach for all types of mechanical damages, such as corrosion, dent, and gouge
- Ability to export inspection results into CSV or STL files for further evaluation
- Calculation of wear, corrosion, and erosion rates, as well as deformation, alignment, and ovality
- Advanced and automatic report generation
- Easy-to-use metrology tool kit, optimized for industrial maintenance applications
SAMPLE ASSESSMENT
1. CORROSION
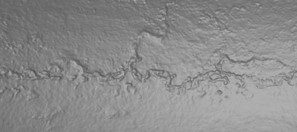
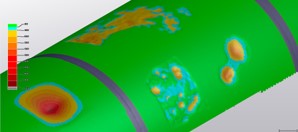
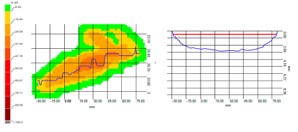
Unlike traditional pit gauges, Our powerful scanner and software has the capacity to measure both the internal corrosion (thanks to UT or interior 3D scanning if possible) and external corrosion (with 3D scanning) to get a complete 3D visualization of the damages for more detailed, in-depth analyses.
SCAN
|
ANALYSE
|
REPORT
|
2. DENTING (MECHANICAL DAMAGE)
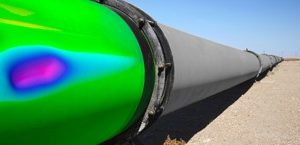
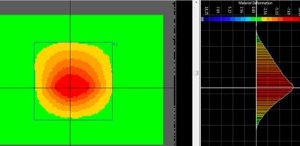
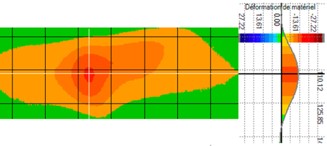
Our powerful scanner and software provides key pipeline inspection functionalities, such as the automatic detection of the maximum depth, which can be difficult to find with traditional measurement methods, like pit gauges.
SCAN
|
ANALYSE
|
REPORT
|
3. WRINKLE ANALYSIS
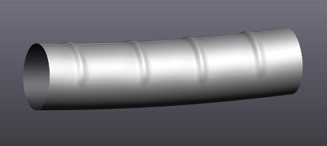
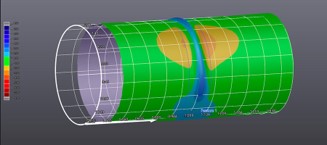
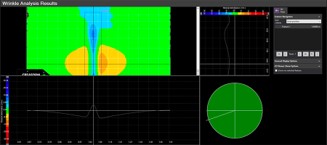
Our powerful scanner and software’s wrinkle analysis module is programmed to calculate the crest-to-trough depth of the ripple as well as the wavelength, circumferential extent, and diameter restriction—enhancing the quality of pipeline inspection analyses and reporting
SCAN
|
ANALYSE
|
REPORT
|
We pride ourselves on our commitment to technological excellence and our dedication to meeting the unique demands of our clients.
